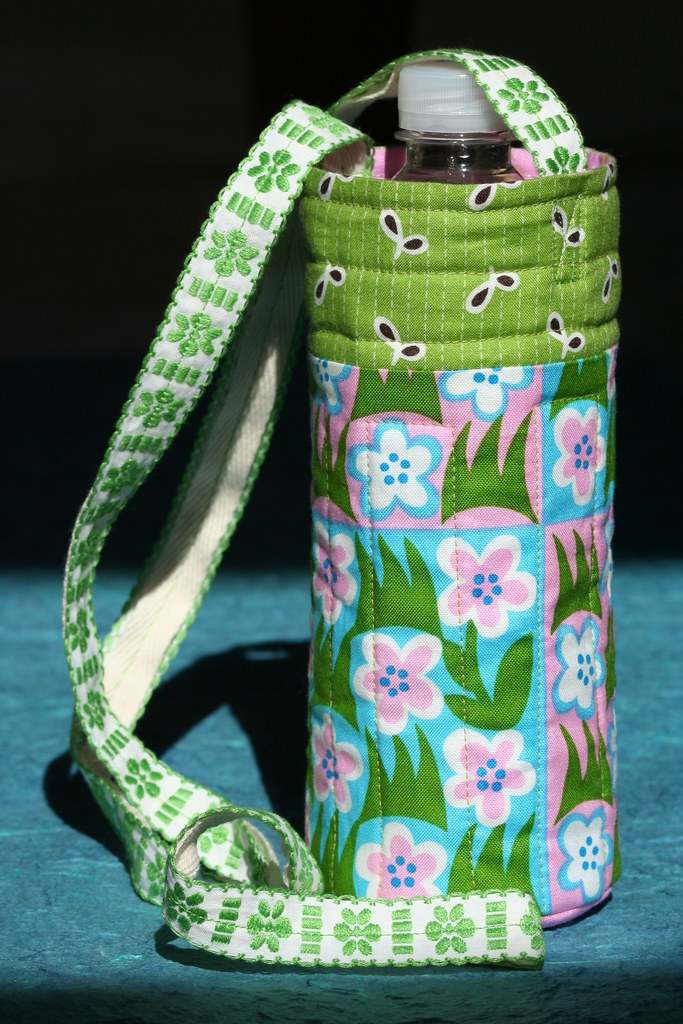
This water bottle carrier was inspired when I found myself carrying everyone’s water in my backpack for the 4th of July parade. Next time, everyone carries their own! This is my first tutorial so please feel free to send me corrections or comments on how to make it better.
1. Cutting Instructions
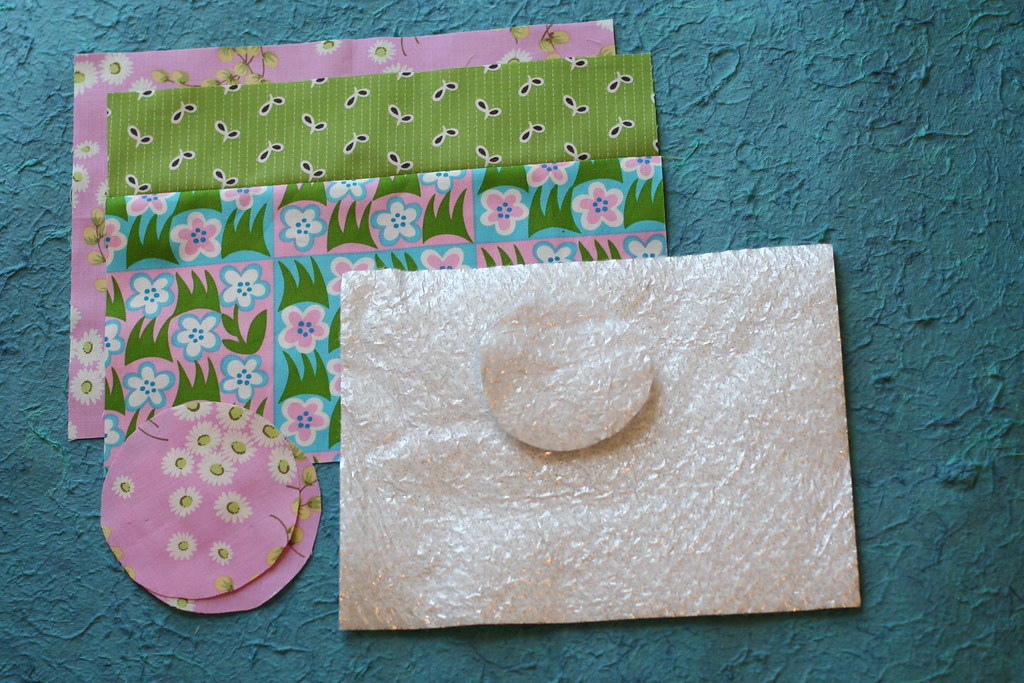
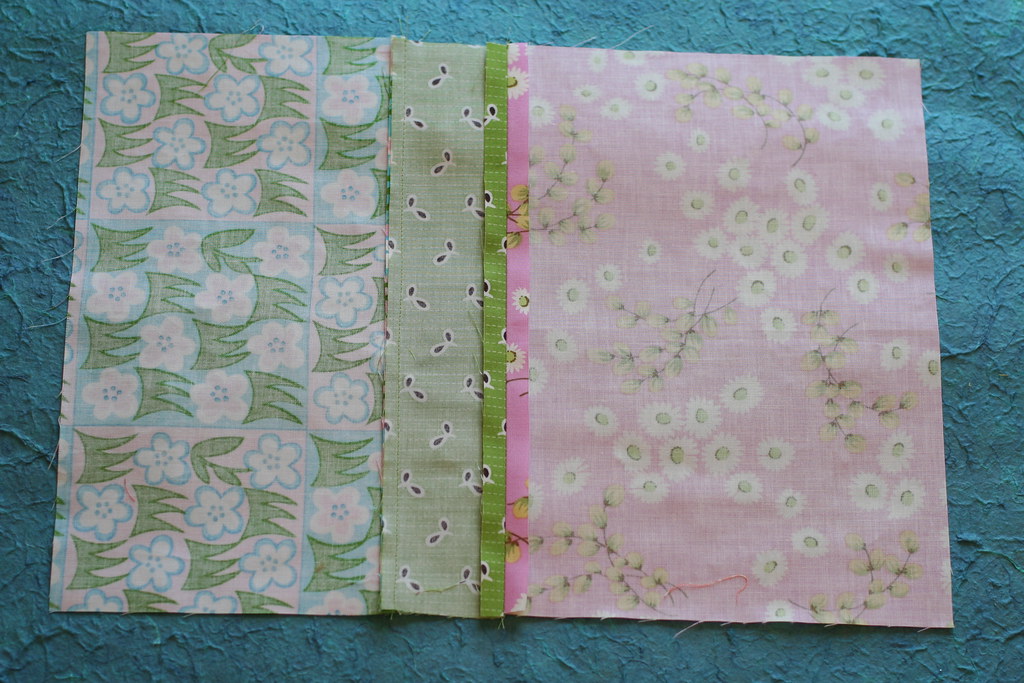
Cut one piece of fabric for the exterior and one piece for the interior each 10 3/4 wide x 8 inches tall. I’ve pieced my exterior fabric with two coordinating prints in the tutorial pictures.
Cut 2 circles of your lining fabric, the circle should have a 3 3/4 inch diameter. The diameter of the circle stitching line is 3 inches. Add an additional 3/8 inch seam allowance making the cut circle diameter 3 3/4 inches.
Cut one piece of Insul-Brite 9 x 7 inches. Cut one Insul-Brite circle with a diameter of 3 inches.
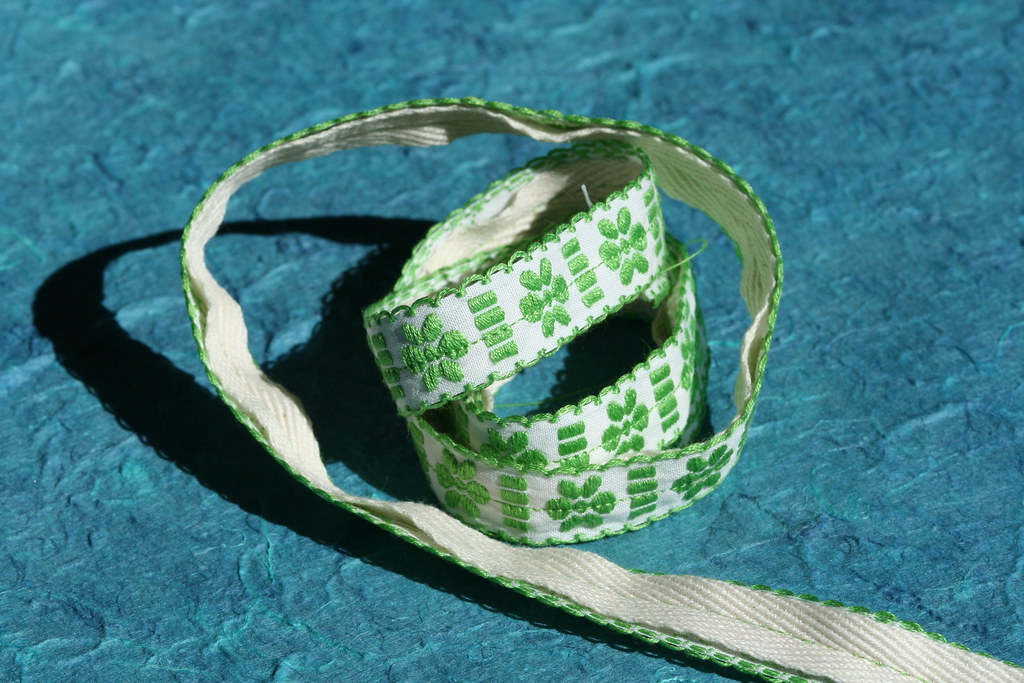
For strap, cut one length of twill tape and one length of ribbon, both 42 inches long. This fits my 8 and 11 year old daughters. When I sized it for myself I cut it 50 inches long.
2. Sew exterior to lining along the top edge only, right sides together using a 3/8 inch seam.
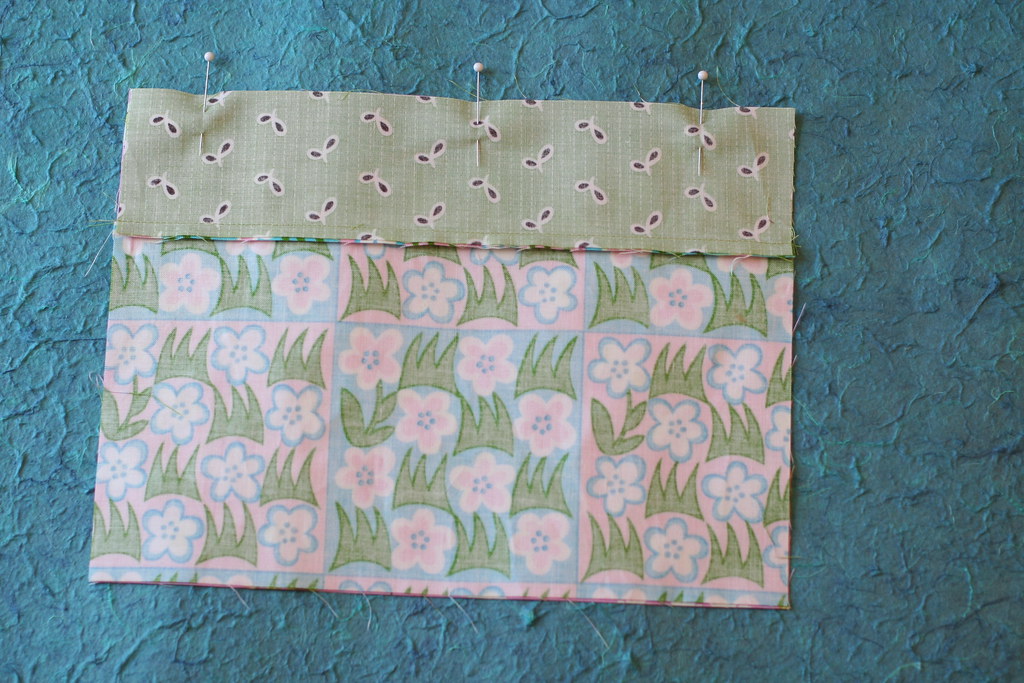
3. Press open seam.
4. The Insul-Brite is going to get sandwiched between the exterior and the lining. Pin Insul-Brite to the wrong side of exterior fabric, aligning and centering top of batting with the joined seam line. Pin in place about an inch down to keep batting from sliding around. Fold over the the lining fabric and pin some more. Top stitch 1/4 inch along the top edge. This provides a baseline anchoring of the batting.
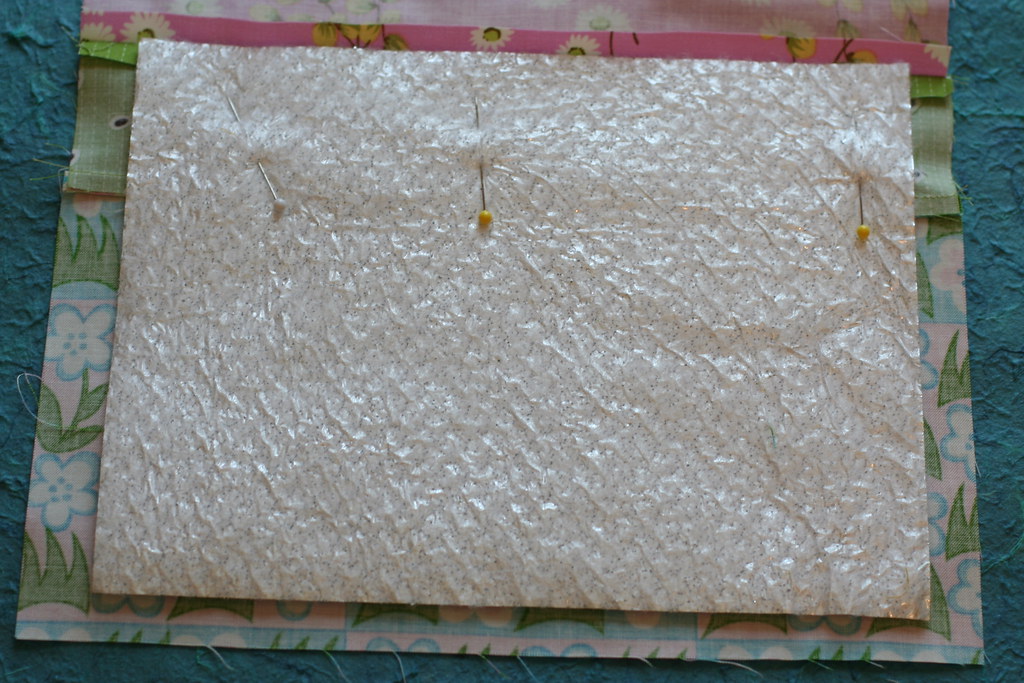
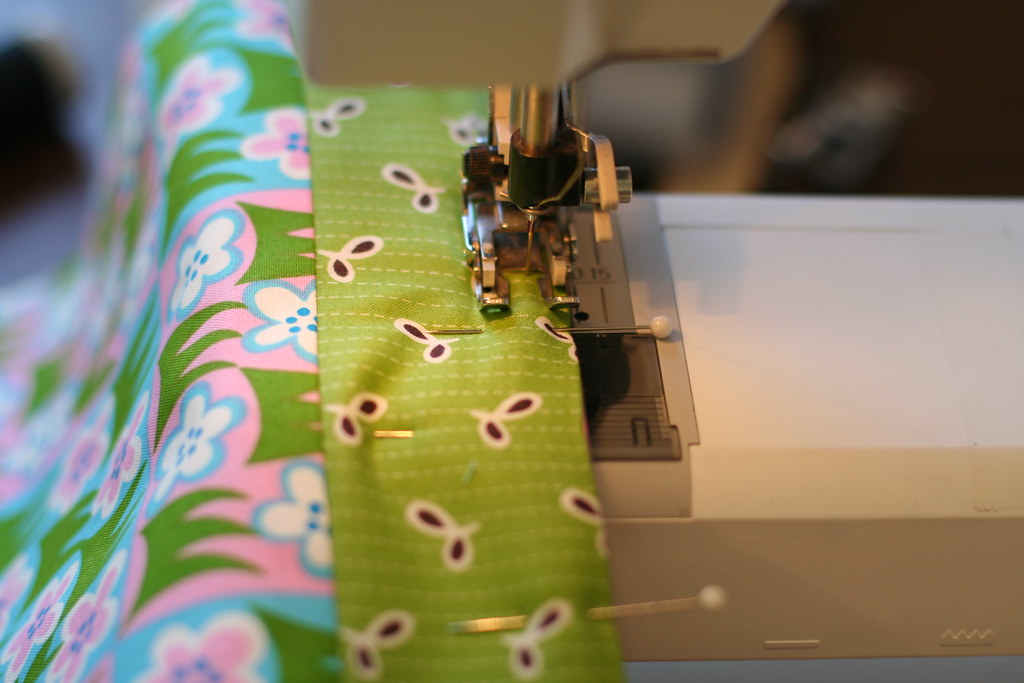
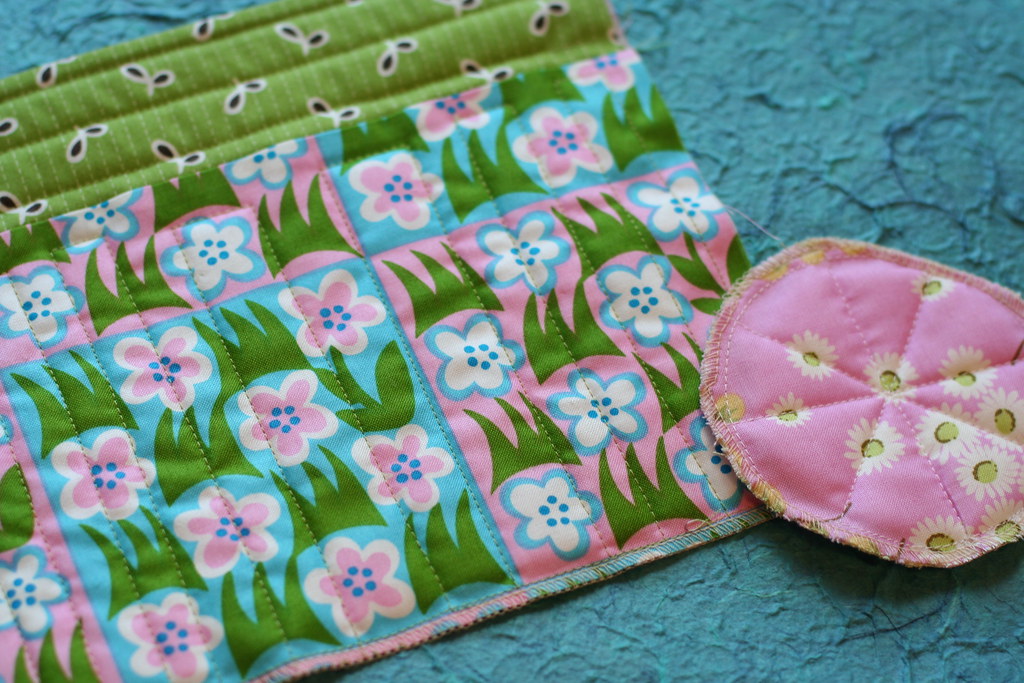
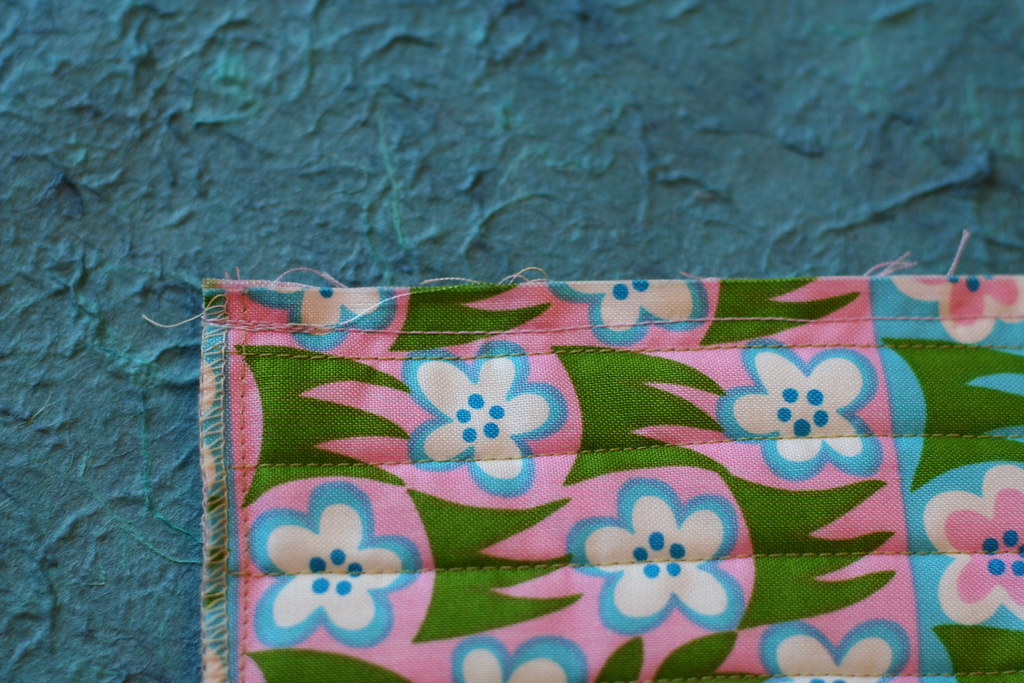
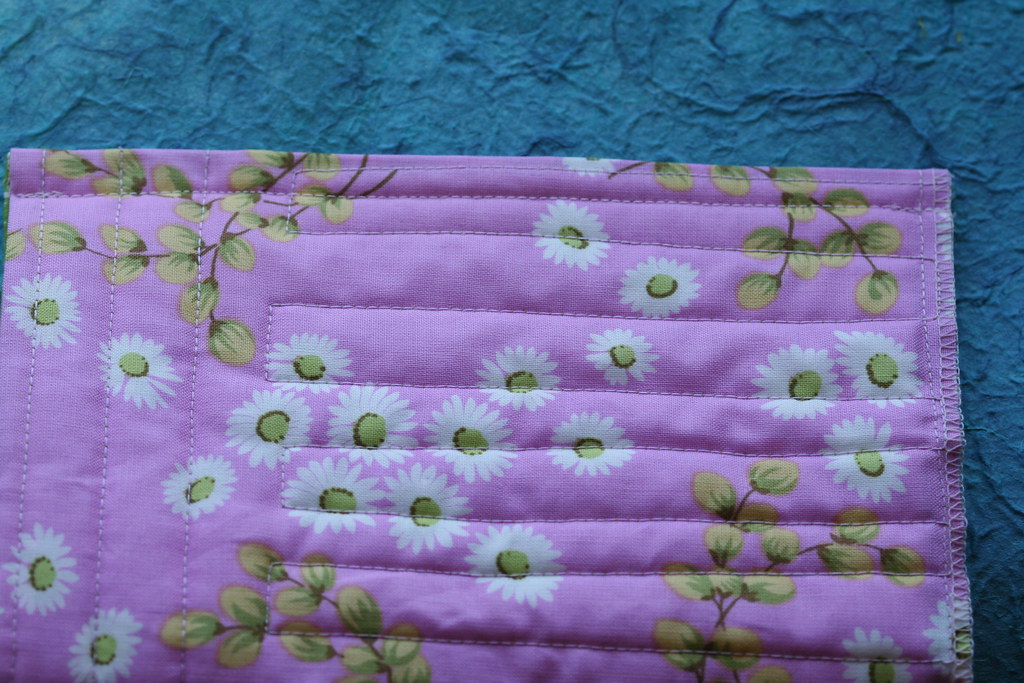
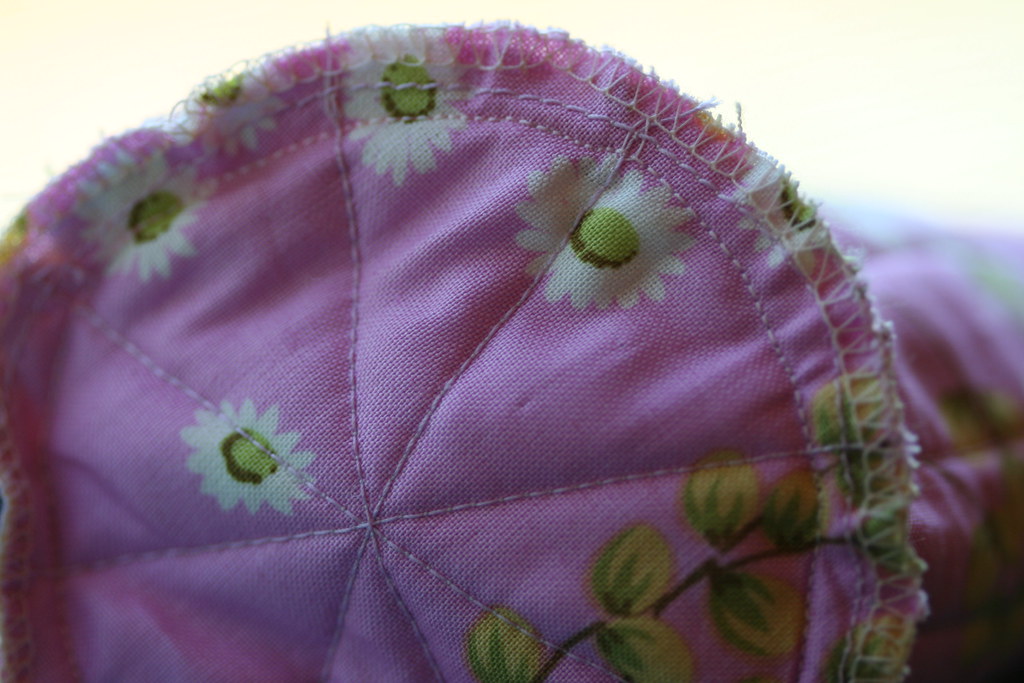
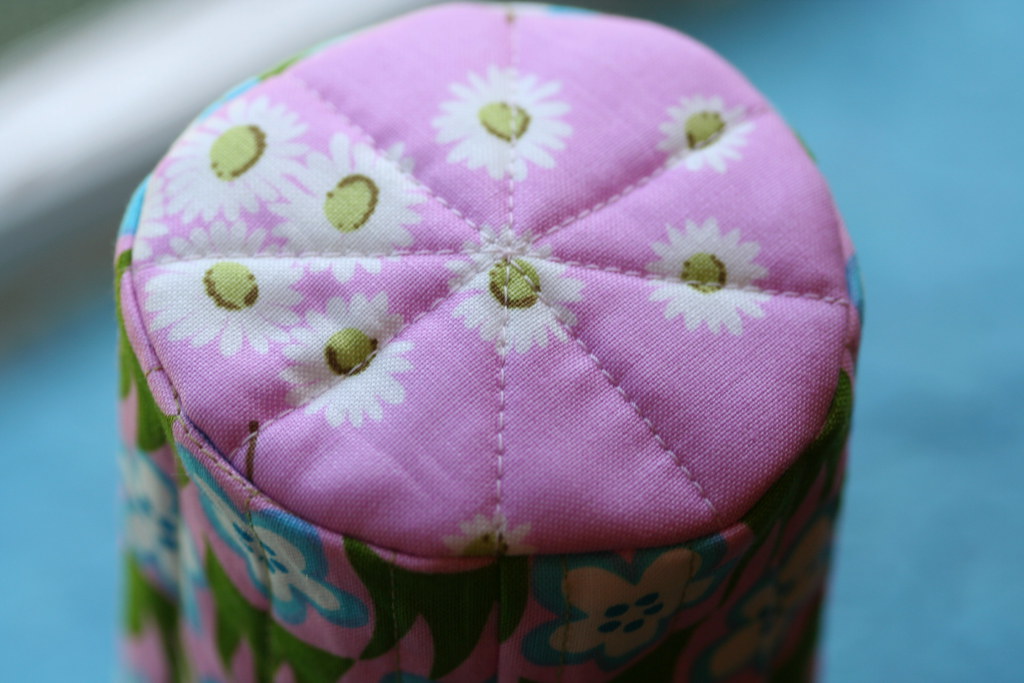
5. Pin entire sandwich like a quilt, securing as needed to keep layers from puckering when stitched. Stitch all layers as you please. Repeat this for the bottom circle. Finish bottom edge of top and edges of circle with a zigzag stitch or serger.
6. I used a French seam to join the side edges of the carrier. A French seam is two steps which result in the raw edge being trapped inside the second seam. Use some scraps and do a practice seam if this is the first time trying this. This seam is great for fairy skirts too!
Step One: Pin WRONG sides of sides together and stitch a 1/4 inch seam. Don’t press seam open, you want them to lay flat together.
Step Two: Turn tube wrong side out. Pin again along the edge, RIGHT sides together and stitch a 3/8 inch seam. This seam will ‘trap’ the previous seam inside. This gives you a nice clean finished edge for the inside of your carrier.
7. Leave tube with lining turned to the outside. Pin bottom circle to tube’s raw edge, right sides together. Clip edges of the tube to make fitting easier. Only clip about 1/4 inch into seamline.
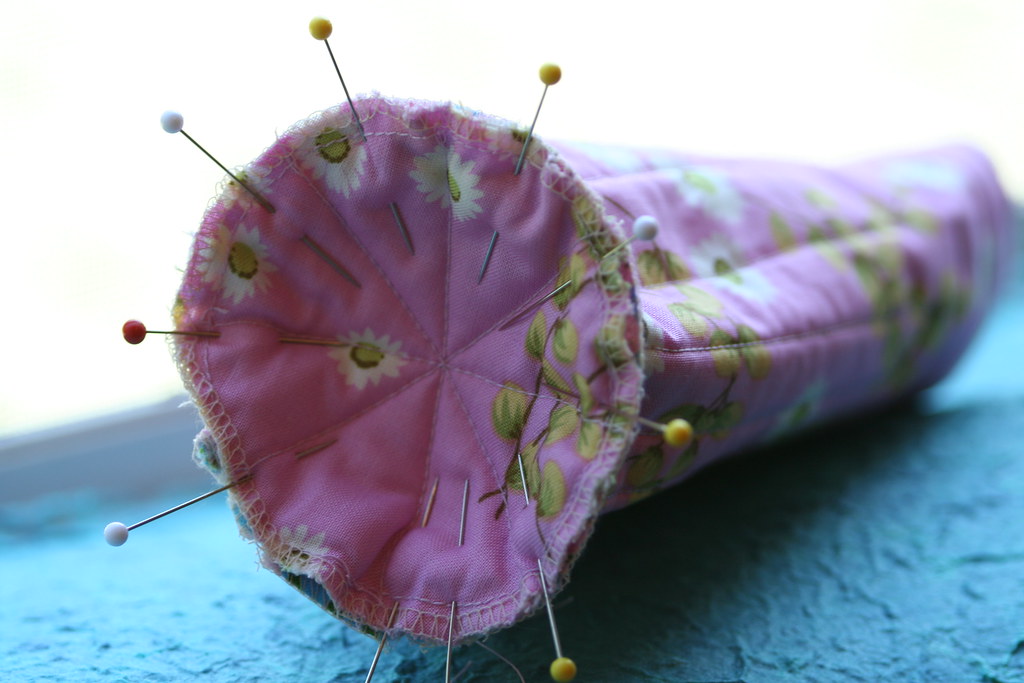
8. Stitch using a 3/8 inch seam.
9. Turn carrier right side out.
10. Attach twill tape to ribbon with a single stitch down the center.
11. Turn up 1 inch of strap raw edge and attach to inside edge of tube, centering ends on either side of the carrier side seam. (After making this I think it would have been easier to attach the strap before creating the tube.)
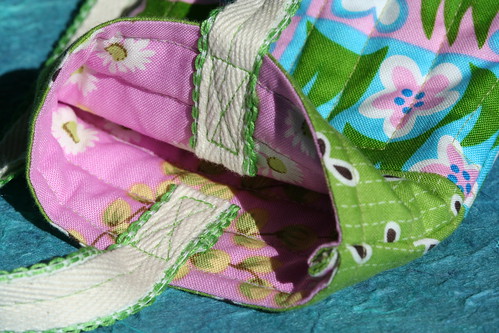
12. Enjoy watching your kids carry their own water bottle.

Tips:
This carrier fits a small 500 mL bottle of water. I used a Crystal Geyser bottle that was 8 inches around. The finished tube is 9 inches in circumference and 7 1/4 inches tall.
The formula for sizing the diameter of the bottom circle is: the circumference of the circle divided by 3.14 (or pi). The circumference is measured by laying the top part of your bag flat, measuring the opening from one side to the other and then doubling. I usually round up the result of the formula just to keep things simple and add for a little shrinkage that will occur when the circle is quilted. I then add a 3/8 inch seam allowance or a total of 3/4 inch to the diameter measurement. In this example, a 9 inch circumference divided by 3.14 = 2.866, I rounded to 3 inches and added 3/4 of an inch for the total seam allowance.
Insul-Brite is a thin batting with a thin layer of foil. It will hold in heat or cold. If using it for potholders it’s recommended to use two additional layers of regular batting. I purchased mine at JoAnns.

.jpg)


.jpg)


0 comments:
Catat Ulasan