tOLOng KLIK ya!!!

Followers

TINGGALKAN LINK YA!!!

KLIK KLIK YA

Memaparkan catatan dengan label jahitan. Papar semua catatan

Selasa, 1 September 2009

jom belajar jahit


Rabu, 8 Julai 2009

Tutorial tote bag


untuk menghasilkan tote bag bersaiz 18" x 15" x 3"

part 1: bahan-bahannya

A: 34" x 19" kain kotton tebal - untuk bahagian luar beg. boleh design ikut suka
B: 28" x 19" kain untuk lapisan dalam - boleh juga berwarna-warni ikut citarasa
C: 19" x 4" (2 helai) kain untuk kedua-dua penghujung bahagian dalam (B)
D: 10" x 9" (2 helai) kain untuk bahagian poket dalam - ikut suka juga, kalau taknak takpe.
E. 28" x 2" (4 helai) kain untuk tali beg (maaf, tiada dalam gambar)

part 2: menjahit bahagian dalam beg

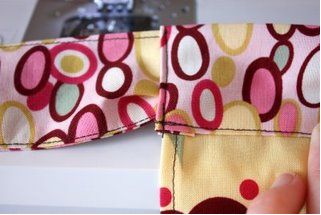
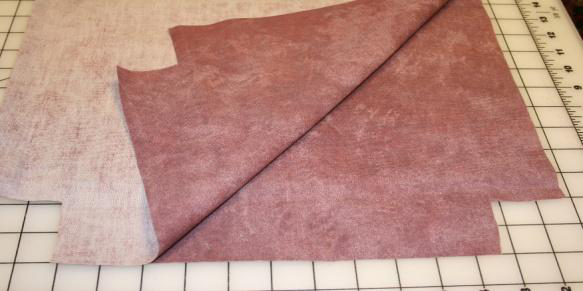
tandakan panjang poket pada kain B dan C. kain bahagian B dan C di cantumkan sedikit di bahagian kiri dan kanan. tinggalkan bahagian tengah untuk lubang poket.

lipatkan ke luar kedua-dua bahagian basi kain dan jahitkan bahagian basi kain B kedalam.

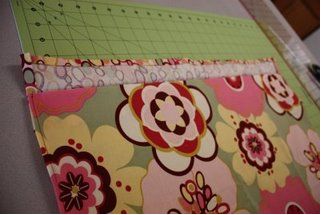
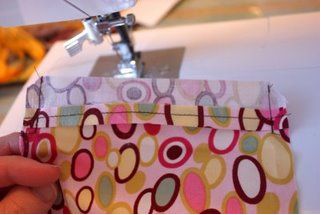
letakkan kain untuk poket (D) di atasnya, pinkan dan jahit keliling. bahagian atas poket mestilah di jahit bersama basi kain C.

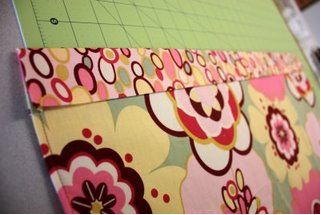
gambar 7 di atas adalah bahagian hadapan poket. ulangkan untuk bahagian penghujung B yang satu lagi. kali ni saya jahitkan di bahagian tengah poket, dan poket yang kecik lebih pendek (supaya senang nak ambik henpon)

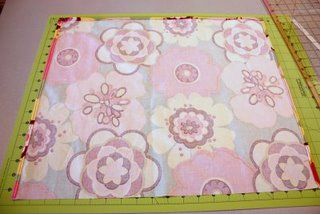
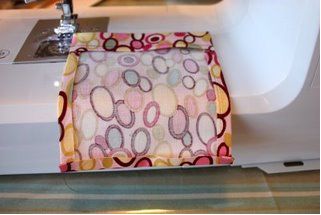
bahagian dalam beg dilipat 2 dan di jahit kiri dan kanan.

tandakan bahagian bucu yang dijahit seperti gambar 11 di atas. jahitkan bahagian yang di tanda, dan dipotong selebihnya.

part 3: menjahit bahagian luar beg

bahagian luar beg (A) dilipat dan dijahit kiri dan kanan. sama seperti bahagian dalam beg, proses bucunya menjadi seperti gambar 14.

part 4: menjahit tali beg

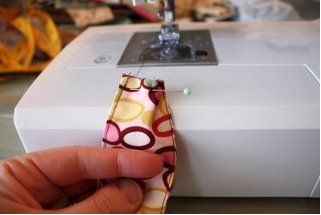
dua helai kain untuk tali beg dijahitkan di sebelah bahagian (jahit bahagian dalam kain). terbalikkan, dan dijahit tindan.

untuk sebelah bahagian lagi, lipatkan kain kedalam, dan jahit dari luar. ulangkan untuk satu lagi tali beg.

jahitkan sedikit penghujung tali beg pada kain bahagian luar beg (A) sebagai penanda. ulangkan pada satu bahagian lagi dan masukkan kedua-dua tali ke dalam.

part 5: mencantum semua bahagian menjadi tote beg

terbalikkan bahagian dalam beg supaya bahagian yang kemas berada di luar. masukkan bahagian dalam beg ke dalam bahagian luar beg. maaf, ayat agak bercelaru, sila lihat gambar di atas.

kemaskan. di jahit keliling, dan tinggalkan sedikit lubang, dalam 5".

dari lubang yang dibuat, terbalikkan kesemua bahagian kain, dengan menarik keluar bahagian dalam kain. kemaskan, dan masukkan bahagian dalam beg (B) ke dalam bahagian luar beg (A).

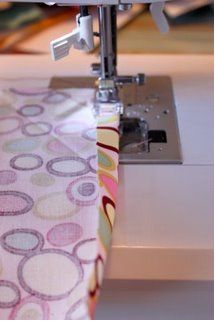
jahit tindan bahagian mulut beg.

ini tote bag elin...tutorial ni saya ambil kat blog http://my.crazyartzone.com/

Selasa, 30 Jun 2009

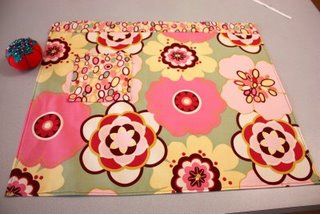
Quick and Easy Half Apron

By: Ashley Johnston of Make It and Love It

Quickly sew up a half apron in your favorite fabric with this easy tutorial from Ashley Johnston of Make It and Love It. The pocket is a cute touch and a handy place to stash those teaspoons. This simple sewing project is great for beginners, but also makes a quick gift for Mother's Day, birthdays and more. For a touch of personalization, try embroidering the monogram of your recipient.

Quick and Easy Half Apron

Materials:

  • 1 piece of fabric 18 x 25 inches (main piece)
  • 1 piece of fabric 4 x 25 inches (waistband)
  • 2 pieces of fabric 4 x 35 inches (ties)
  • 1 pieces of fabric 6 x 8 inches (pocket)
  • coordinating thread
  • scissors, sewing machine, etc.

Use 1/2 inch seams unless otherwise noted.


Instructions:

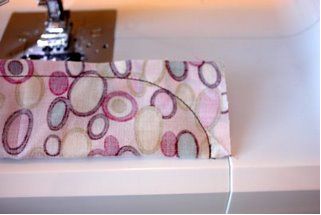
  1. Start by making the ties. Sew along the long side, with right sides together. Curve your seam at one end, if you want, to give it a more finished look.

    Easy Half Apron 1
  2. Like this. Then trim. Turn them both right side out. Iron flat.

    Easy Half Apron 2
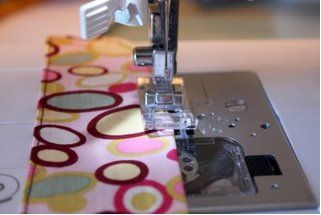
  3. Top-stitch really close to the edge, all the way around both ties.

    Easy Half Apron 3
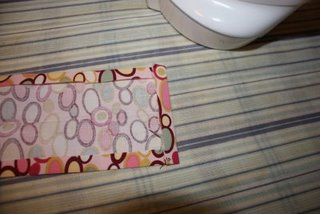
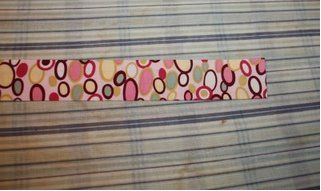
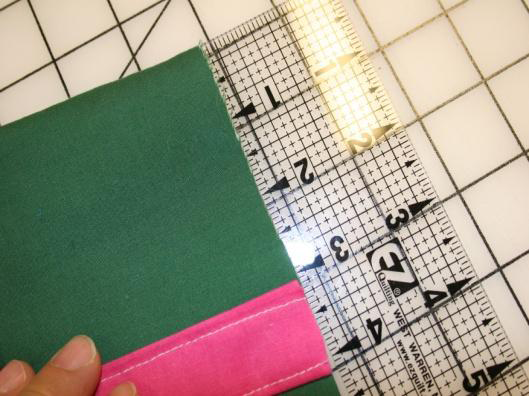
  4. Next, fold over the long edges of your waistband, about 1/4 inch. Iron. Then fold over the ends a 1/4 inch and iron.

    Easy Half Apron 4
  5. Then fold the whole waistband in half lengthwise and iron.

    Easy Half Apron
  6. Next, your going to sew around 3 edges of the main piece. The 2 sides (shorter sides) and the bottom (one of the longer sides). Turn under each edge a 1/4 inch, and then 1/4 inch again. Sew.

    Easy Half Apron 6
  7. See all 3 sides that are sewn?

    Easy Half Apron
  8. Next, lay your main piece right side up with the unfinished edge at the top. Align your waistband up at the top.

    Easy Half Apron
  9. And fold the other half of the waistband over the top. Pin in place and sew close to the bottom edge, leaving the 2 ends open.

    Easy Half Apron
  10. Next, your going to attach the 2 ties to each end. But first, you'll need to fold each unfinished end just a little bit so that it will fit nicely into the opening. If you'd rather not do this, just make your strips 4 x 34 inches (instead of 4 x 35) and they should slide right in without folding. I just like the look of it.

    Easy Half Apron
  11. Then sew close to the edge to secure the ties in place. Cute, right?

    Easy Half Apron 11
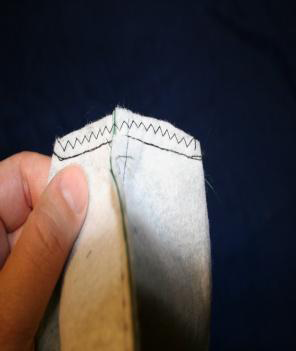
  12. Lastly, the pocket. Fold over the top edge (one of the shorter ends) 1/4 inch with wrong sides together. Then flip that sewn edge back and fold over 1 inch with right side together. Sew along the edge, 1/4 seam allowance. Trim the corners.

    Easy Half Apron
  13. Then turn that section right side out. This is the top of your pocket. It makes it all nice and neat looking.
  14. Now fold the 2 sides in 1/4 inch and then fold the bottom up 1/4 inch. Iron into place.

    Easy Half Apron 12
  15. Then pin your pocket onto your apron. (You'll notice my ties aren't sewn on yet. I did it in a different order.)

    Easy Half Apron 14

Sewing Series: Floral Garden Tote Bag

By: Dorinda Dombrowski

Follow along with our first ever sewing series! Each week we will reveal a new part of the project tutorial in our Quick and Crafty newsletter. This sewing series project is the perfect spring item. Learn how to create a floral spring bag that is perfect for toting around your garden tools. This beautiful tote tutorial comes to us as a guest project from Dorinda Dombrowski of Flower Girl Designs Collection.

Part I
Part II
Part III
Part IV
Part V
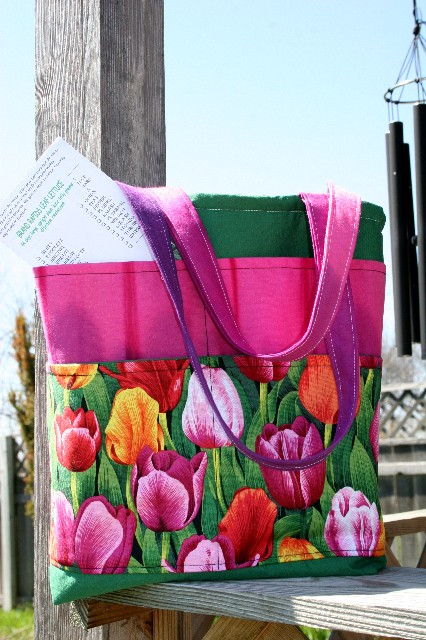
Floral Garden Tote Bag

Finished size approximately 12 ½”h x 12 ½”w

Materials:

½ - yard outside fabric
½ - yard lining fabric (durable canvas fabric)
7/8-yard pocket & strap fabric (2 different colors optional)
½ -yard fusible fleece
All purpose thread to match fabric
Scissors & Rotary Cutter
Ruler
Pins
Sewing Machine
Iron


Cutting Fabric for Garden Tote:

Cut 2– 15” x 15” outside tote fabric
Cut 2- 15” x 15” lining tote fabric
Cut 2- 9” x 15” pocket fabric
Cut 2- 10” x 15” pocket fabric
Cut 2- 7” x 15” pocket fabric
Cut 2-4” x 20” strips for straps
Cut 2- 15” x 15” fusible fleece


Notes:

Remove all pins before sewing over them.

All seams are a ¼”.

Garden Tote- Fusible Fleece- Corners & Pockets:

  1. Iron on fusible fleece to the 2 -15” x 15” outside tote fabric cuts, following manufactures directions.

    Garden Floral Tote Bag 1
  2. Cut out a 2” x 2” square out of each corner on one side of outside fabric cuts.

    Spring Floral Garden Tote 2
  3. Take the 2- 9” x 15” pocket cuts.

    Floral Garden Tote 3
  4. Place them right sides together and sew a seam on a 15” side.

    Floral Spring Garden Tote 4
  5. Fold right sides out, press and topstitch the seam.

    Floral Spring Tote 5
  6. Place raw edges up and 12” down from the top of the bag. The 2” x 2” square cut will now be under the pocket.

    Floral Spring Garden Tote 6
  7. Pin in place and sew.

    Floral Garden Tote


Floral Garden Tote: Part II

  1. Fold pocket up, press and topstitch the bottom seam.

    Garden Tote 8
  2. Fold the cut in half to find the middle and sew a straight stitch down the middle, back stitching at the top to make it more secure.

    Garden Tote 9
  3. Take the 2- 10” x 15” pocket cuts, for the other side of the tote.

    Garden Tote 10
  4. Place right sides together and sew a seam on a 15” side. Turn right sides out, press and topstitch the seam.

    Garden Tote 11Garden Tote 11-1
  5. Place the pocket raw edges up and 11” down from the top of the other tote fabric cut. Pin in place, sew, fold up pocket and topstitch the seam.

    Garden Tote 12
  6. Take the 2-7” x 15” pocket cuts; once again place right sides together sew a seam on the 15” side. Fold pocket right sides out, press and topstitch the seam.

    Garden Tote 13
  7. Place the pocket raw edges up and right under the pocket that you just sewed in place, pin and sew.

    Garden Tote 14
  8. Fold pocket up.

    Garden Tote 15
  9. Topstitch the bottom seam. Fold the tote fabric cut in half to find the middle, once again sew a straight stitch down the middle, back stitching at the top of both pockets to make them more secure.

    Garden Tote 16


Floral Garden Tote Part III: Sewing Together the Outside of Tote

  1. Place outside fabric cuts, right sides together.

    Garden Tote Step 2-1
  2. Sew the sides & bottom, leaving the top and corners open (zigzag or serge seams, after sewing, to make them more secure). You don’t have to worry about lining up the pockets; it was designed so no pockets will have to match at side seams.

    Garden Tote Step 2-2
  3. At the corners match seams (side & bottom) and sew, zigzag or serge all seams to make them more secure. Turn tote right sides out.

    Garden Tote Step 2-3Garden Tote Step 2-3-1


Floral Garden Tote: Part IV

Lining- Corners & Sewing Together:
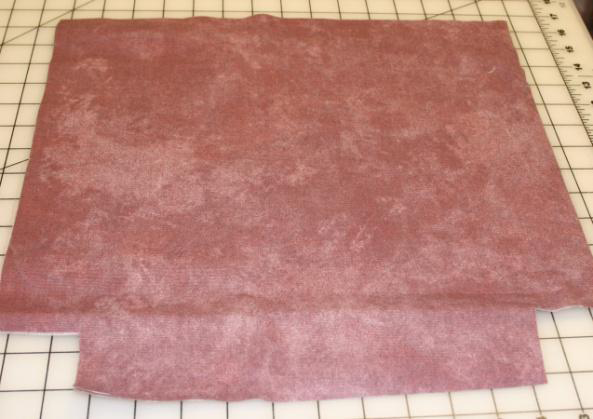
  1. Take the 2-15” x 15” lining cuts (I used a durable canvas fabric), cut out a 2” x 2” square at each corner on one side.

    Garden Tote Step 2-2
  2. Place right sides together, sew sides and at the bottom leave a 3” opening for turning. Leave corners and top open. Then, sew the corners the same as the outside of the tote. (zigzag or serge seams to make them more secure) Leave wrong sides out.

    Garden Tote Step 2-2-2


Straps:

  1. Take the 2- 4” x 20” strips of fabric for straps, place raw edges to the middle, the long way and press.

    Garden Tote 4-1
  2. Fold again and press, making a 1” strap. Sew close to both long edges.

    Garden Tote 3-2
  3. Place the raw edge of one side of the strap to the raw edge of the tote, 3” in from one seam, pin and zigzag in place. Make sure the strap is straight and place it on the same side, other end, 3” in and zigzag in place. Sew the other strap to the other side of the tote the same way.

    Garden Tote 3-3
  4. Now, both straps are sewed on the tote.

    Garden Tote 3-4

Floral Garden Tote: Part V

Finishing:

  1. Take the outside of the tote and place it (right sides together) inside the lining with the 3” opening at the bottom. Pin and sew all around the top of the tote, backstitching over the straps to make them more secure.

    Garden Tote 4-1
  2. Turn tote right sides out through the 3” opening. Machine or hand stitch opening closed.

    Garden Tote 4-2
  3. Press and topstitch all around the top of the tote.

    Garden Tote 4-3


Your Garden Tote is done and ready to use. It looks Great!

Garden Tote


Template by Maya